
How to move a Virtual Machine to Microsoft Failover Cluster
- Guidance
- July 26, 2021
- Download as PDF
Description
There are several ways to add VMs into a newly configured cluster. Besides creating a new VM from scratch (applicable mostly for new deployments), an administrator might need to migrate an existing VM to the cluster.
This article covers the scenario when VMs are already located on a Hyper-V host that is a part of the cluster and they should be added to that cluster and moved to the cluster shared volume so the VMs can live migrate between the cluster nodes.
Steps
NOTE: Before the migration starts, please make sure that VMs have no checkpoints created and are backed up.
VMs can be migrated from one Hyper-V host to a clustered one as discussed in this article: https://docs.microsoft.com/en-us/windows-server/virtualization/hyper-v/manage/use-live-migration-without-failover-clustering-to-move-a-virtual-machine
The approach from the article above, can be used to migrate VMs directly to cluster shared volume. Herein, we describe a Failover Cluster feature that allows to move VM files from the local storage to the cluster shared volume (i.e., VMs are running on a clustered host, but they are not added to the cluster yet) and between the cluster shared volumes.
Open Failover Cluster Manager and press Configure Role… under the Roles section.
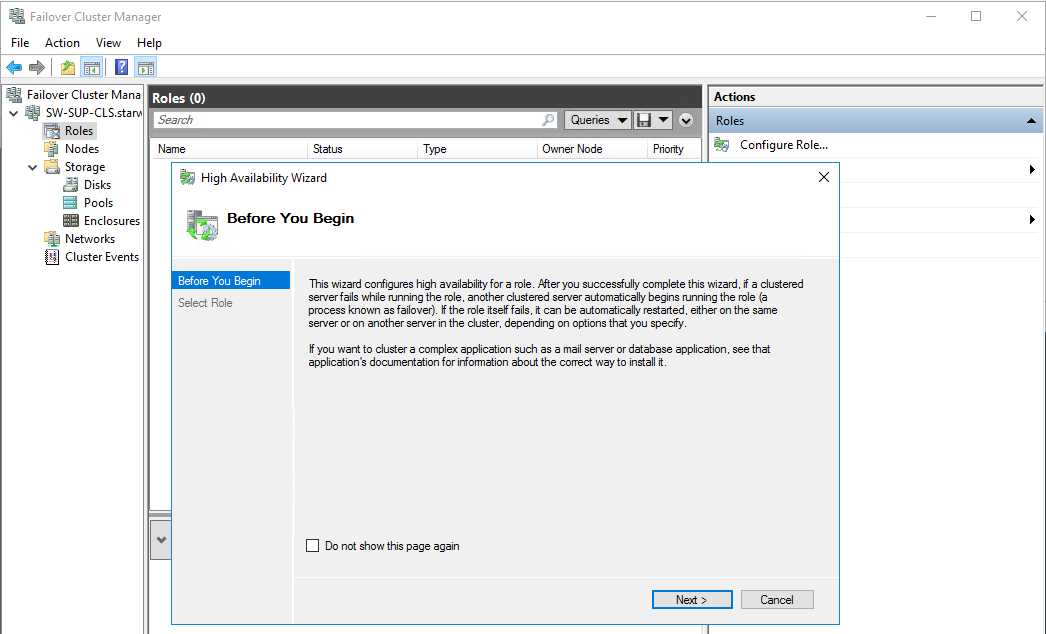
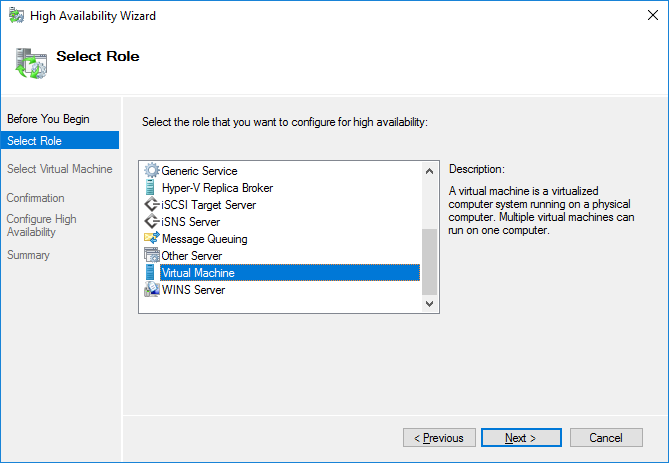
Follow the High Availability wizard and select Virtual Machine on the next screen.
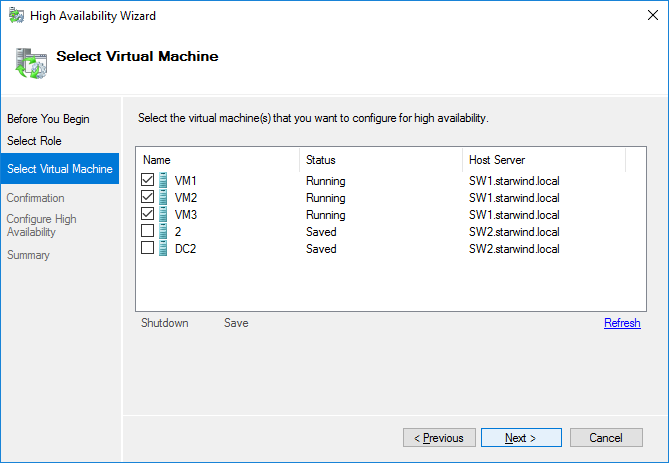
The High Availability wizard lists the VMs located on clustered nodes. Select the VMs that should be clustered and click Next.
NOTE: Please do not add to the cluster a single Domain Controller VM. See more details in this KB: https://knowledgebase.starwindsoftware.com/explanation/advice-on-how-to-place-a-domain-controller-in-case-of-starwind-virtual-san-usage/
Confirm the configuration by pressing Next.

Close the wizard by pressing Finish. Please pay attention to the Warning message about VMs disk location.
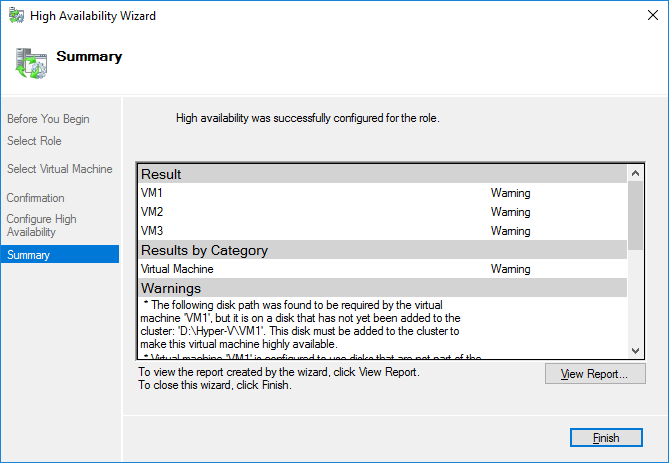
Once VMs are clustered, they will appear in Failover Cluster Manager. Note that, live migration will not work for the newly clustered VMs because their files are located on the local storage. To enable live migrations, VM files should be relocated to the cluster shared volume.
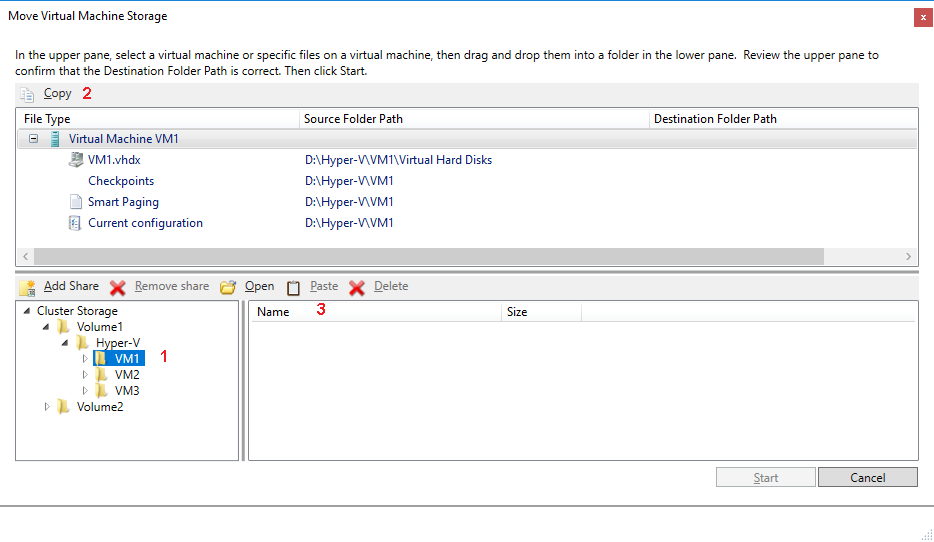
To move VM files to a Cluster Shared Volume, prepare a separate folder for each VM on it. From the Failover Cluster Manager interface, Right-click the VM and choose Move -> Virtual Machine Storage.

In the Move Virtual Machine Storage wizard, check the Source Folder Path (i.e. local path), select the destination folder path to the cluster storage, select the VM files that should be moved to the cluster storage, press Copy, and press Paste.
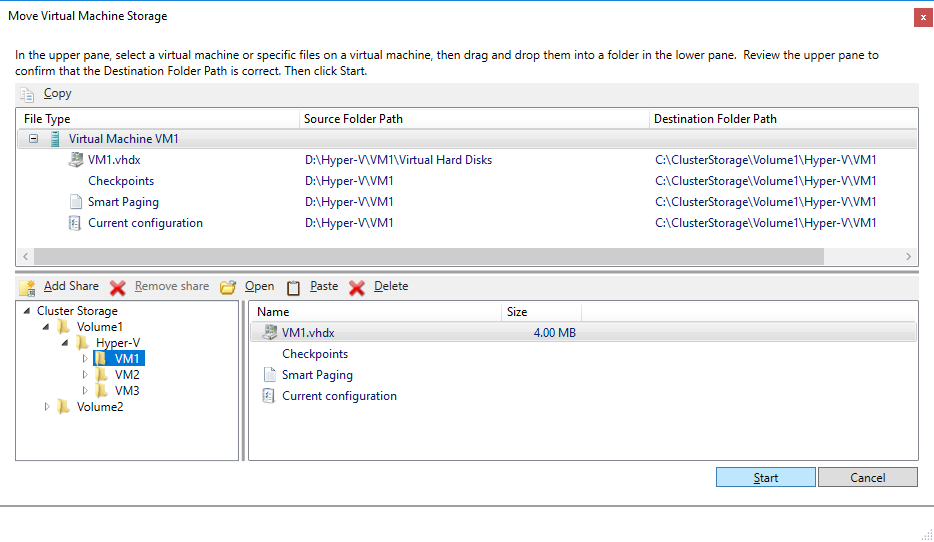
The Destination Folder Path should appear in the wizard window. Press the Start button to start the move. VM can remain running during the move process.
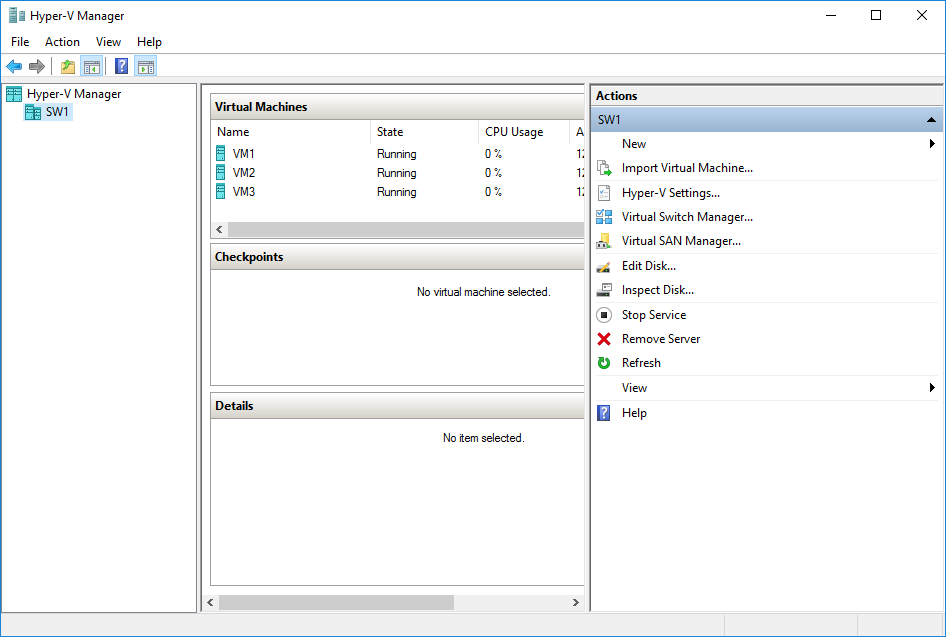
The move progress can be monitored in Hyper-V Manager.
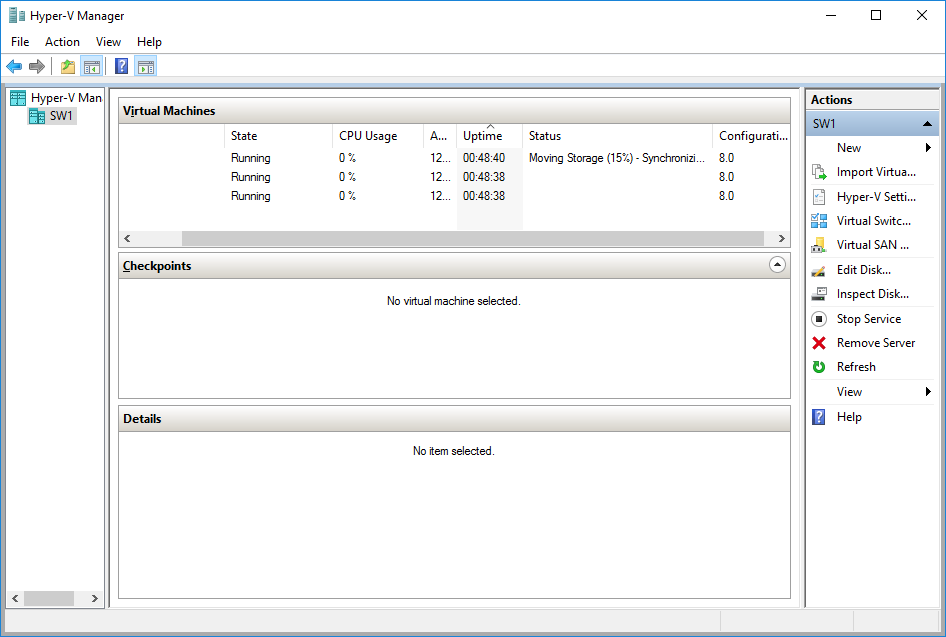
Once the process is completed, the VM is completely moved to the cluster storage and can be live migrated between the cluster nodes.
